Blog Layout

How To Grout a Tiled Room - DIY Hack!

JOE PEREIRA • 10 November 2022

How To Grout a Tiled Room in 2023 - Improve Your DIY Knowledge!

Grouting can save you a lot of money, by substituting funds with 3-4 hours of your own time! Grouting is the final phase of installing a tiled wall or floor after the adhesive has fully activated. Grouting is not incredibly difficult to complete to a high/acceptable standard, but can go very wrong if the process isn't followed correctly! This is why we've created this 5-minute blog post, to not only help save you time but to explain the steps needed to grout like a pro!


What Are the Types of Grout?

Grout comes in either a premixed or powdered form, and is either sanded or a non-sanded type. Selecting the correct grout for the type of tile you have is paramount in ensuring no complications arise!


Powdered grout must be mixed with water before use. Premixed grout comes in tubs and is convenient for smaller jobs. A non-sanded grout is suitable for grout joints up to 1/8 inch wide. Sanded grout is best for joints over 1/8 inch wide - however, this material is a little more difficult to work with in comparison to non-sanded grout, but is much stronger and helps to prevent cracking in wide joints.


Before Mixing the Grout

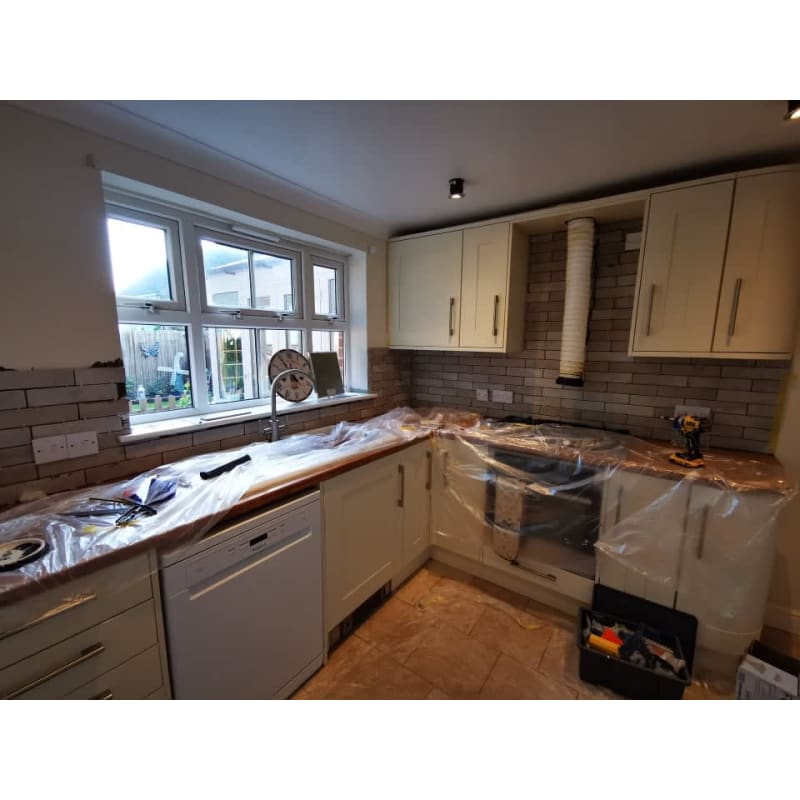
Make sure your tiles are prepared. This means ensuring the adhesive has set and there aren't any spacers left in between the tiles.


What You'll Need

Equipment:

  1. Grout Sponge.
  2. Rubber Grout Float.
  3. Cloth (to wipe excess grout).
  4. Plastic Bucket (take the bathroom size into account).


Materials:

  1. Grout
  2. Water


Mix the Grout

Mix the powder with water in a plastic bucket. Add little splashes of water at a time so your grout doesn't become too liquidated. Keep repeating this process until you achieve a toothpaste-like consistency. If grout's consistency looks overly liquid, add some more powder and this should even it out.


Apply the Grout

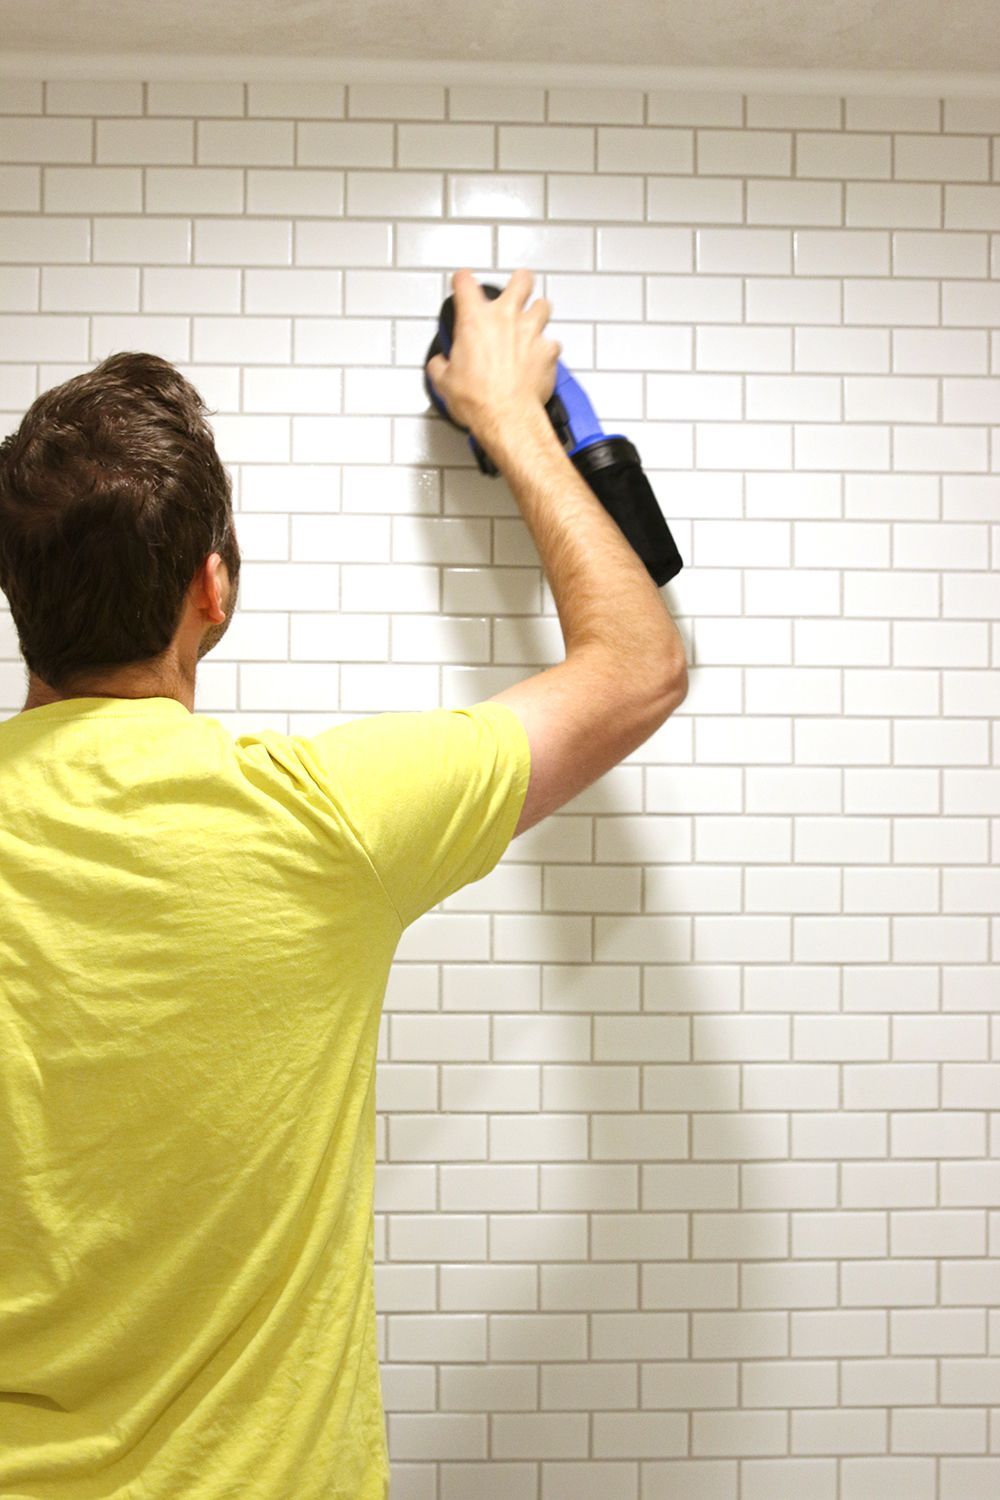
Whilst applying the grout, do not cover the whole float, as you are only filling in little sections at a time to ensure the right amount of grout is left within the gaps. Work from bottom to top and brush whilst adding slight pressure to fill in the holes. Reload the float after completing a small section and repeat.

Getting the Sponge to Use


After 20 minutes the grout should have mostly dried, and at a stage it should still wipe off with little effort. Use this to your advantage and clean the tiles to wipe down any excess, smoothening out the grout by brushing very gently across the gaps. Use hot water to make it even easier for yourself! A word of caution: leaving the grout to dry for a long period of time will cause you great difficulty in scraping off any excess. The key is to leave it long enough to slightly harden, but not too long for it to completely dry.


Finishing Touch


Brush your finger across the grout to mould it into the gaps and there you have it - you've now grouted your first room! Anything is possible if you dedicate time into learning something new, and then step out of your comfort zone to apply these skills!


We hope you've found this blog post helpful. If so, please feel free to share it with your friends or across social platforms - it helps support local, Norfolk based business! If you would like to discuss how Just Perfect Property Maintenance could help with Bathroom/ Kitchen fitting or for any other enquiries, get in touch today. Just simply email us at info@jp-propertymaintenance.co.uk or call our landline on 01953 542 313. 

22 June 2023
Redecorating a bedroom can be a fun and rewarding project that allows you to express your personal style and create a space that truly reflects who you are. Whether you're looking to refresh an outdated room or create a completely new look, there are many ways to make a big impact without breaking the bank. This blog post will serve as inspiration as to how you can redecorate your bedroom in 2023.  With a little bit of creativity and some DIY know-how, you can turn your bedroom into a sanctuary that you'll love spending time in. Start with a plan. Before you begin buying new furniture or paint, take some time to plan out your new bedroom.
by JOE PEREIRA 8 June 2023
Create the Home of Your Dreams in 2023! Introducing our North Norfolk Flooring Installations...
by JOE PEREIRA 26 May 2023
If you find yourself constantly feeling cramped or cramped in your kitchen, it may be time for a redecorate. You may have outgrown your kitchen or your family has grown and you need more space. Simply put, our goal is to help craft your vision into an astounding reality. Whether you're looking to renovate the entirety of your property or thinking about a Kitchen fitting Just Perfect will endeavour to exceed your expectations and leave your home transformed and your mouth wide open. That's why we've created this 5-minute guide discussing when to consider a kitchen model and introduce our Norfolk based renovation services!
by JOE PEREIRA 11 May 2023
Transforming Bathrooms in North Norfolk for over a decade.
by JOE PEREIRA 4 May 2023
Norfolk Kitchen Design Inspiration - Because we believe you deserve more...
by JOE PEREIRA 13 April 2023
Living rooms are often the centrepiece of a home, but when space is limited, it can be challenging to design a room that is both functional and stylish. However, with a little creativity and strategic planning, it is possible to create a beautiful living room in even the smallest of spaces.  One of the most important things to consider when designing a small living room is to choose furniture that is both functional and versatile. A sofa that doubles as a bed, for example, can provide extra sleeping space for guests without taking up too much room. Similarly, a coffee table that can be transformed into a dining table can serve multiple purposes and save valuable floor space. New Paragraph
by JOE PEREIRA 30 March 2023
Security. Decoration. Whatever the reasoning for your fencing needs, Just Property Maintenance is the Norfolk installation company to choose!
by JOE PEREIRA 16 March 2023
If You're From Based in North Norfolk (Thetford, Brandon, East Harling, Kenninghall, Attleborough) we can transform your Kitchen FOREVER in 2023!
by JOE PEREIRA 2 March 2023
Why You Need to Clean your Gutters!
by JOE PEREIRA 16 February 2023
Bathrooms come in all shapes and sizes, and the layout can make a big difference in how functional and comfortable the space is. Looking for a Thetford-based bathroom installer? Wanting to plan the perfect design? This blog post will help you consider all of the elements needed for a successful bathroom renovation before you begin your bathroom fitting in 2023! Here are five popular bathroom layout designs to consider for your next renovation or new home build: The traditional layout: This is the most common bathroom layout, featuring a vanity with a sink, toilet, and shower or bathtub. This layout is efficient and easy to navigate, making it a great option for smaller bathrooms. The L-shaped layout: This layout is similar to the traditional layout but with the addition of a second vanity and sink. This layout is perfect for shared bathrooms or for those who want a little more counter space. The U-shaped layout: This layout features a vanity with a sink, toilet, and bathtub or shower on one wall, with a second vanity and sink on the opposite wall. This layout is great for larger bathrooms and provides ample counter space and storage. The walk-in shower layout: This layout features a large walk-in shower, a vanity with a sink, and a toilet. This layout is perfect for those who prefer a shower over a bathtub and want a more open and modern feel to their bathroom. The spa layout: This layout features a large soaking tub, a separate shower, a double vanity with two sinks, and a toilet. This layout is perfect for those who want a luxurious and relaxing bathroom experience. New Paragraph
More posts
Share by: